Sometimes you may want to show the previous and next post title from same category just below your post. Here I am sharing you the code which i got from internet and used for someone which worked great. Here I am sharing you the corresponding css and php code.
Tabbed menu without bootstrap ( using css, jquery and html)
In most of the cases we uses bootstrap, which is easy to use. But sometimes we may need to create tabbed menu without bootstrap. Here I am sharing you the related html, css and jQuery code using which you can use Tabbed menu without using bootstrap (screenshot above). You can use this in WordPress, Shopify or any other platform where you can use html,css and jQuery.
Seedlet by Automattic is a free WordPress theme which is designed to focus on typography allowing your writing and content to shine. If you want to use this theme, i have shared some css which you can use to change the design, like font, color, size etc of the theme.
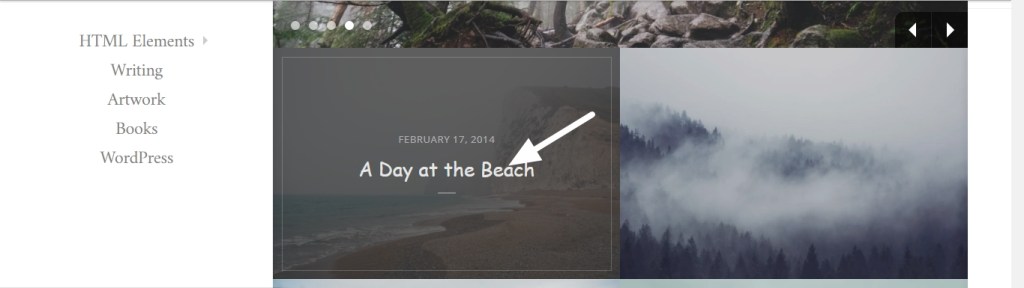
If you are a Creative Photographer then wordpress theme Monet is for you. Monet is a delicate responsive grid-layout theme targeted at photographers and other creatives. Here I am sharing you some css tricks using which you can modify the header color, fonts, font family and more. If you have any Question feel free to ask in comment section.
To change font size, color and font family of Header title in homepage
Sometimes you may need to put some html code in the Homepage of your shopify site. Here I am sharing you the steps and code to create custom html section.
Create home-custom-html.liquid file under section ( screenshot attached )
Paste this code in the newly created home-custom-html.liquid
If you want to create a FAQ (Frequently Asked Question) page and want to show the Question & Answers in Accordion ( click and open), then you can use this code. Though there are plugins for that, but here I am sharing you the basic FAQ accordion html css and JQuery code so that you can use it without the use of plugins. Feel Free to message me in Skype if you need help.
Sometimes you may need to exclude specific product to appear in search result. Here I am sharing you a tricks which i got in shopify community.
So the tricks is, put a tag , for example “Special” tag in the product and that tagged product will be removed from search result. Here i am sharing the code
{% for item in search.results %}

    {% assign hidden_tag = false %}

    {% for tag in item.tags %}
        {% if tag == 'special' %}
            {% assign hidden_tag = true %}
        {% endif %}
    {% endfor %}

    {% if hidden_tag == true %}
        {% comment %}
            If it contains the tag, do this
        {% endcomment %}

    {% else %}
        {% comment %}
            If it doesn't contain the tag, do this
        {% endcomment %}

{% endfor %}